How to organize sources for a school research project in PDF Max
Capture evidence from PDFs into a source-linked Workspace, connect competing ideas, and export an organized research draft with the appropriate plan.
Direct answer
How can you organize evidence from several PDFs without losing its source?
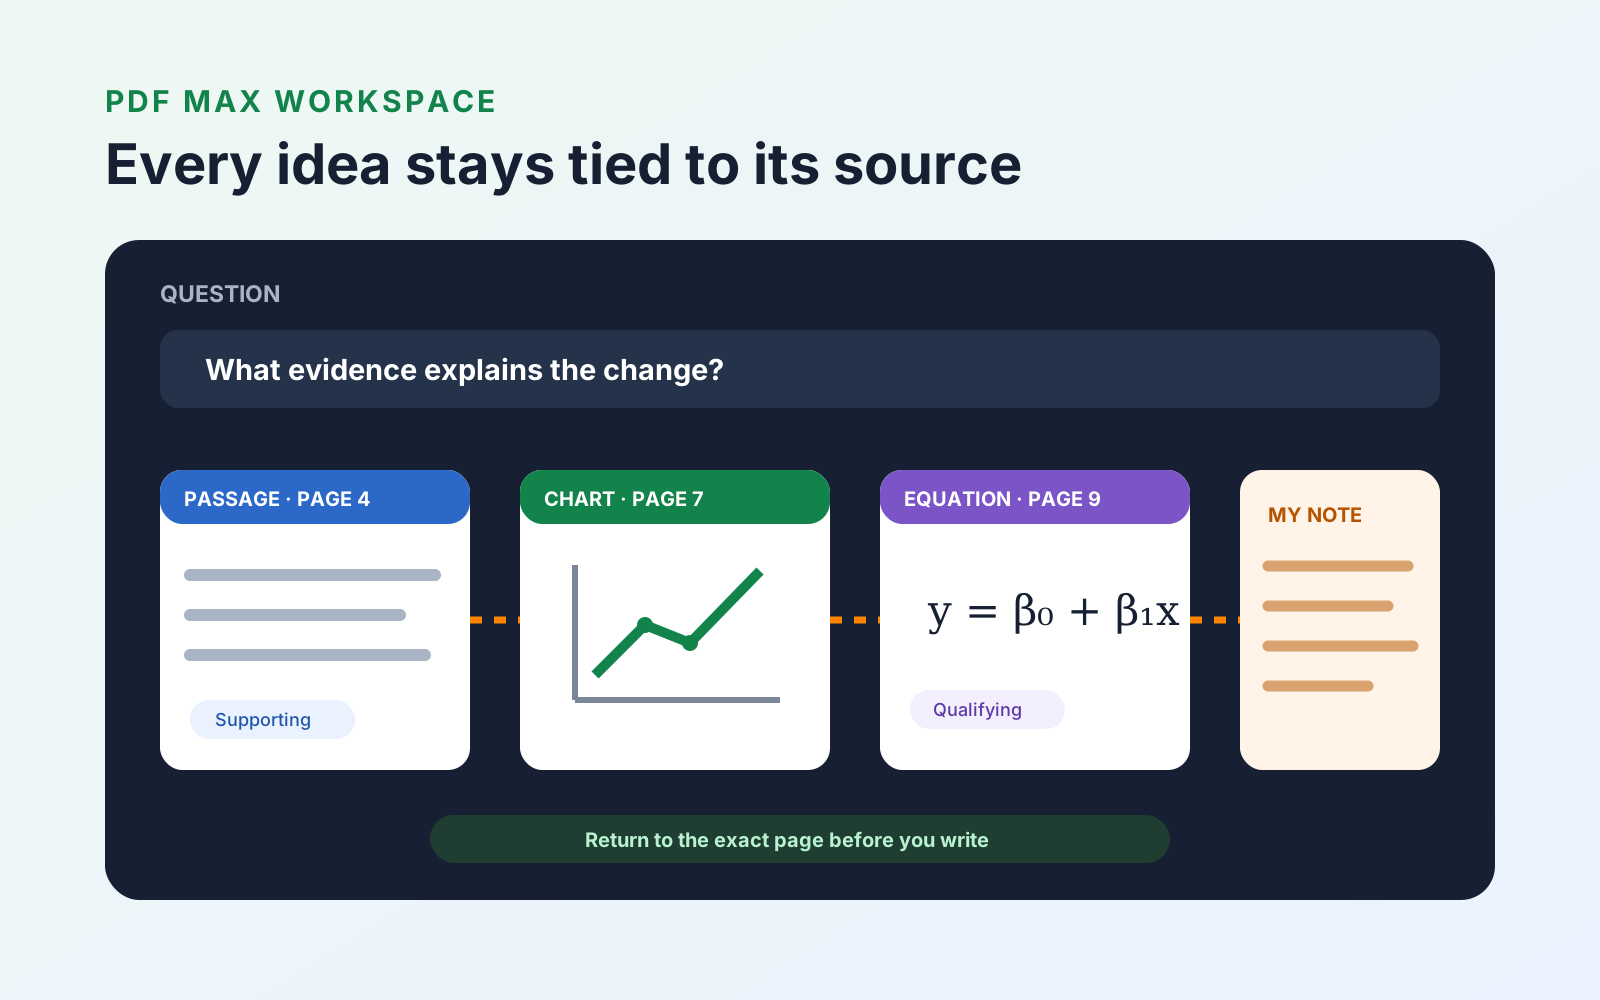
Capture each useful passage, table, chart, image, or equation into a source-linked research workspace instead of copying it into disconnected notes. Label claims and caveats, connect supporting or conflicting evidence, and return to the original page whenever context matters. Export the organized material later, while keeping separate bibliographic details for the required citation style.
The hardest part of a school research project is often not finding PDFs. It is keeping track of why each passage mattered, how two sources disagree, and where a chart or equation came from after several weeks of reading.
Copying quotations into a blank document removes the very context you need later. PDF Max Workspace keeps captured evidence linked to its page in the source PDF. It is designed for the stage between reading and drafting: collecting what matters, classifying it, connecting ideas, and returning to the original before you write.
Free includes one complete multi-PDF Workspace with Clip Text, Markup & Clip, image, table, and formula region capture, search, tags, structured filters, relationships, every layout, synthesis views, Frames, Study, and presentation. Pro adds Markdown export; Premium adds multiple editable Workspaces and PDF or Word research export.
Begin with a question, not a pile of clips
Write the working research question at the top of a note before capturing anything. It can change later, but it gives every clip a test: does this help answer the question, define a term, expose a limitation, or challenge an assumption?
Create a Workspace for the project, then use a small number of initial categories such as:
- claim or finding;
- method;
- supporting evidence;
- limitation or caveat; and
- term or definition.
The categories are editable. Start simple and add distinctions only when the project produces a real need for them. An elaborate taxonomy created before reading usually becomes another task to maintain.
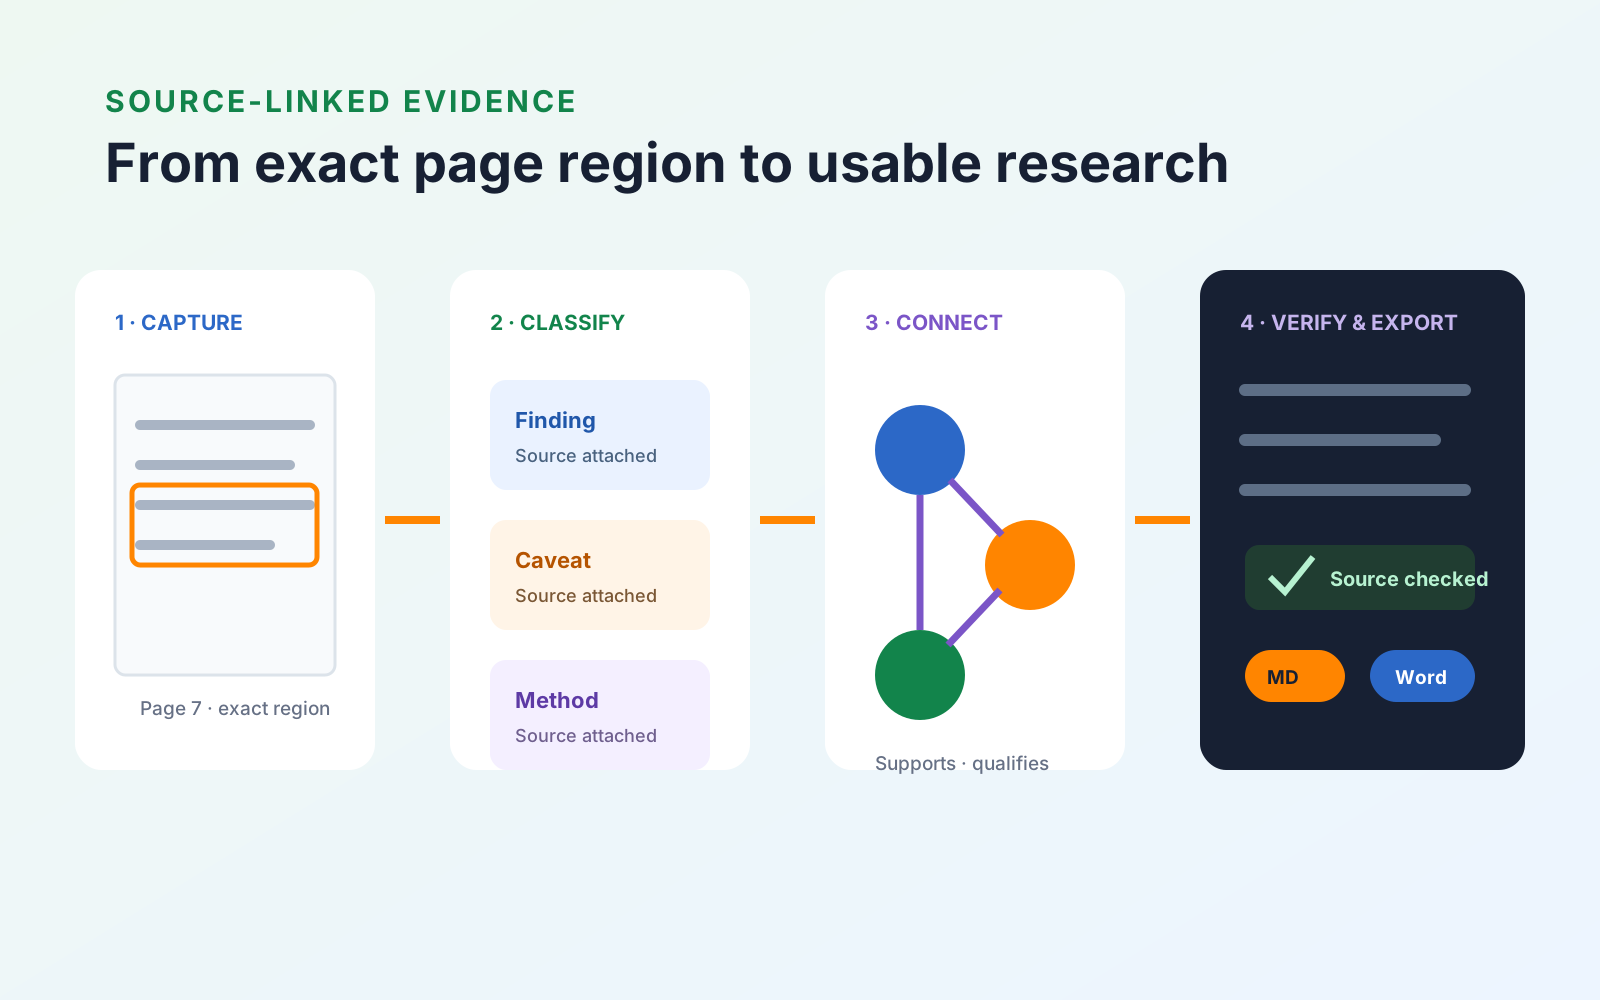
Capture the first source into Workspace
- Open the PDF, choose Research, then choose Workspace to place the board beside the document.
- Choose the capture tool that matches the evidence: Clip Text, Markup & Clip, Clip Image, Clip Table, or Clip Formula. Use Import for markup or comments already saved in the PDF.
- Select text or drag around the page region you need. Capture tools remain active for repeated clips, so turn the tool off when you finish that type of material.
- Give the new card a short note or category that explains why it matters to the project.
- Use the card's source control whenever you need to return to the exact page context.
Workspace can hold more than selected prose. Capture the part of the PDF that carries the meaning:
- passages for an author's claim or explanation;
- tables for structured results;
- charts and images for visual evidence;
- equations for a model or relationship;
- comments for an existing review discussion; and
- your own note cards for questions or synthesis.
Each source-derived card keeps a link to its document location. A quotation can therefore remain a quotation rather than becoming anonymous text. When a claim feels too neat later, use the source control to return to the page and reread the paragraph, caption, or footnote around it.
Equation captures can use the optional recognition data to retain recognized formula source alongside the visual region. Confirm the notation on the page before treating the result as exact, particularly when a symbol or superscript changes the meaning.
Build the board as you read
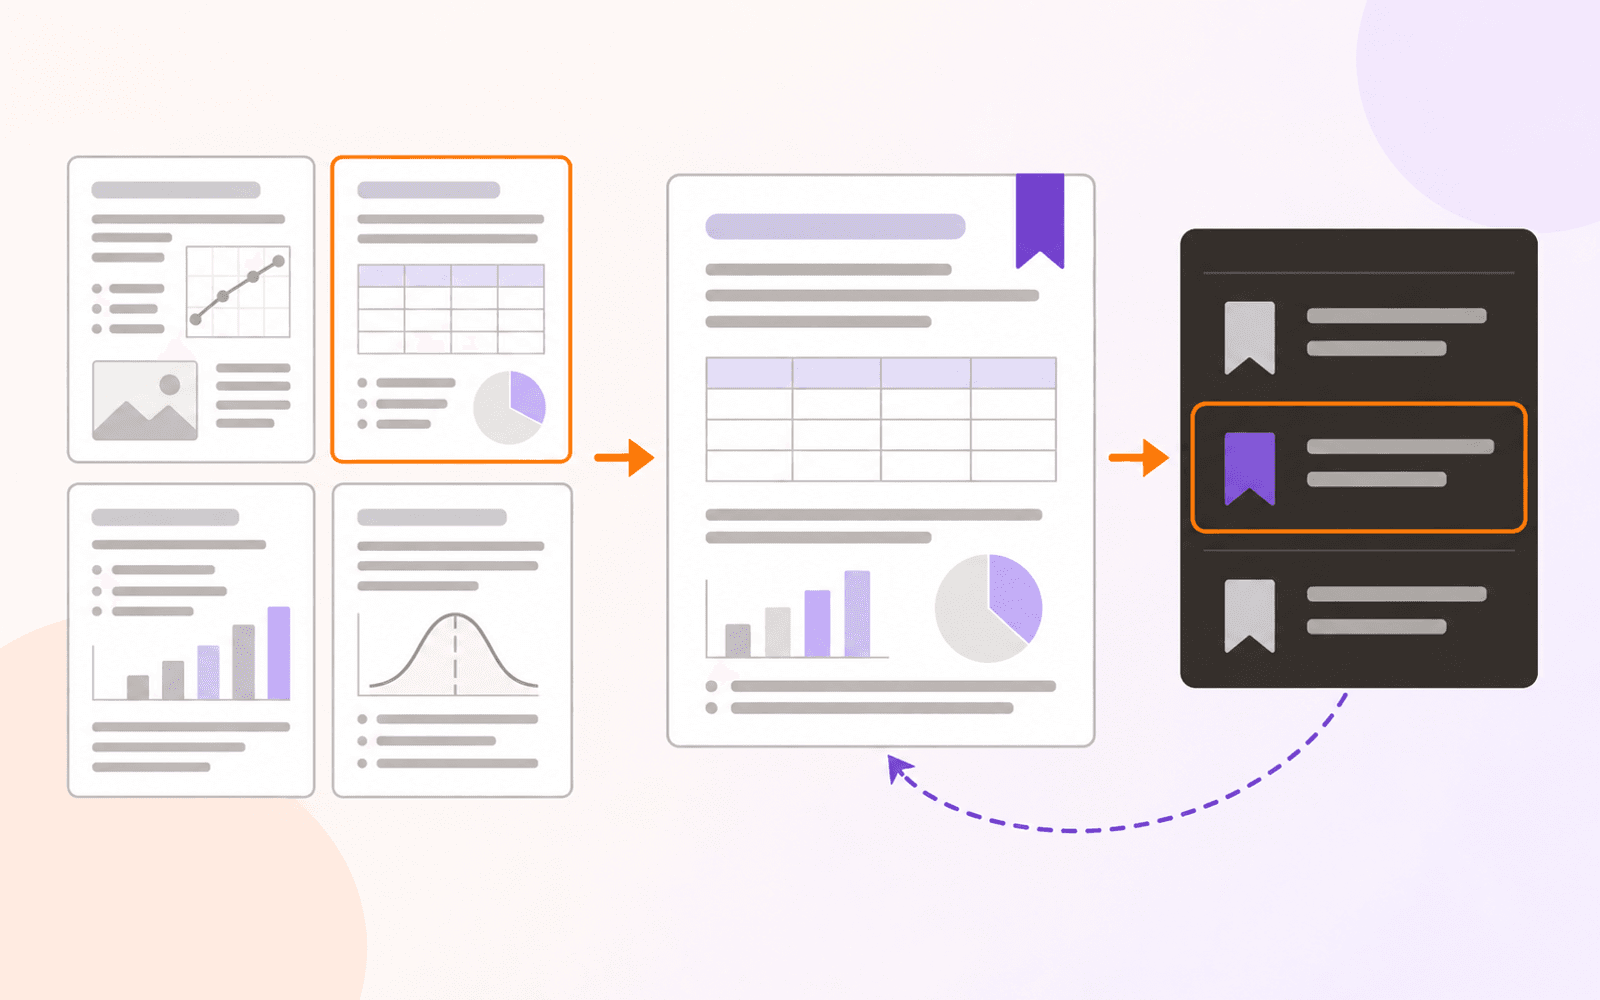
Workspace uses a visual board for organizing research. Move related cards into clusters, separate competing findings, and use frames to keep material for the same topic or assignment section together. Categories make cards easier to scan and filter without forcing the board into a fixed sequence.
Do not try to perfect the layout after every clip. A practical rhythm is to capture several useful items from one source, add a brief note to each, then arrange them before moving to the next paper. This keeps the reading flow intact while still preventing the board from becoming an unlabelled pile.
Record how ideas relate
Putting two cards near each other suggests a relationship but does not state one. Connect them explicitly when one idea:
- supports another;
- challenges it;
- qualifies its scope;
- defines a term;
- extends the idea; or
- is simply related in a way that is not yet clear.
These links help prevent a common drafting error: presenting several sources as if they all make the same claim. A study may support the broad direction of an argument while qualifying the population, method, or certainty. Record that difference while the source is open.
Shape the board into an argument
Once the board has enough material, create frames around the assignment's intended sections and move the relevant cards into each frame. A practical sequence is:
- the question or problem;
- definitions and background;
- strongest supporting evidence;
- competing findings or limitations;
- your synthesis; and
- the conclusion that the evidence can actually support.
At each section, jump back to the source for the clips carrying the most weight. Check that you have not removed a condition, mistaken a caption, or treated a discussion point as a measured result.
Export a working draft
With Pro, Workspace can export selected research as Markdown; Premium adds PDF and Word. The export groups source-linked material in reading order, includes your notes, and carries relevant card relationships. Images can travel with the export; recognized equations use the representation supported by the chosen format.
Treat this as a structured working document, not a finished submission. Add transitions, write the analysis in your own words, check every quotation, and complete the formal bibliography afterward.
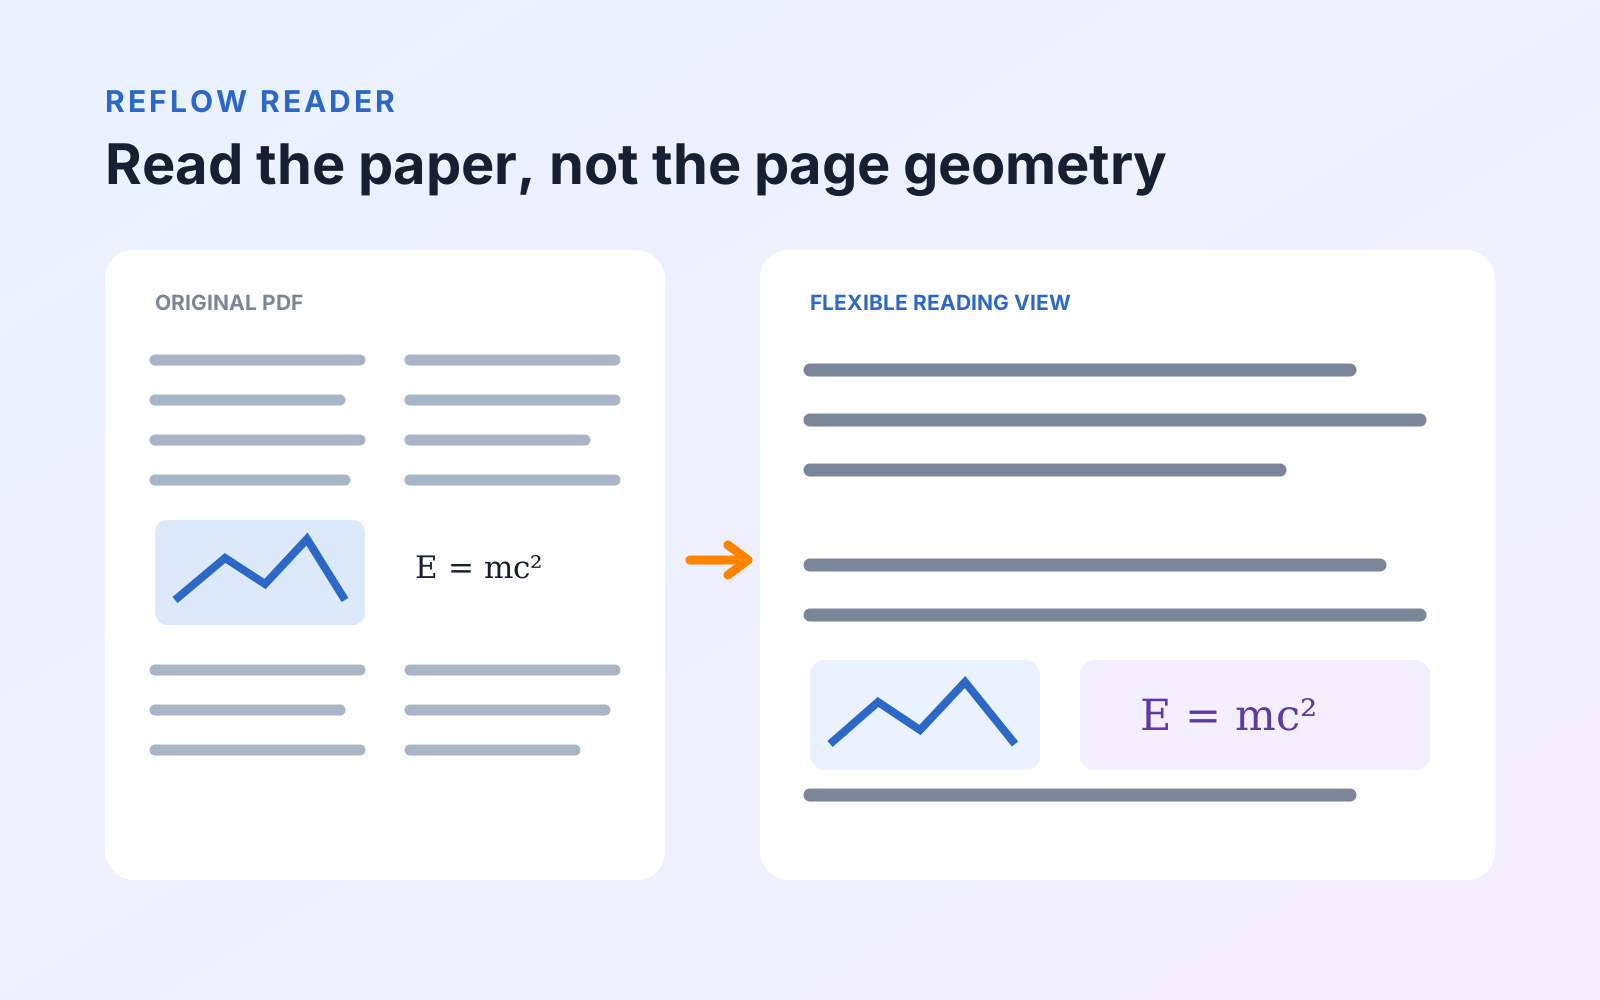
If a presentation is the final deliverable, frames can also become an ordered research deck. See how to present a PDF or Workspace without rebuilding it as slides. For papers that are difficult to read before you capture evidence, start with the equation-aware Reflow Reader workflow.
Turn accepted research into Questions
If the project also requires you to remember definitions, relationships, formulas, or findings, Study—available with Free—can create Questions from the Cards already linked to the source. Author each Question manually or review an optional Apple Intelligence draft on a supported iOS 26 or macOS 26 device before saving it. Then use scheduled Study or a practice session that leaves the schedule unchanged.
Questions keep a route to their Card and original PDF page. That makes Study part of the same evidence workflow rather than a separate deck of copied facts. See the implemented PDF Max Study workflow and its Free availability before relying on it for a course.