Back-to-school 2026 PDF checklist for students on Apple devices
Scan forms, choose the right page size, add searchable text, compress large PDFs, and verify every school upload before the deadline.
Direct answer
What PDF checks should students complete before uploading school documents?
Before uploading a school PDF, confirm that every page is present, upright, readable, and in the required size or format. Add OCR when a scan must be searchable, compress only enough to meet the portal limit, and reopen the exported file before submission. Keep the original until the school confirms receipt.
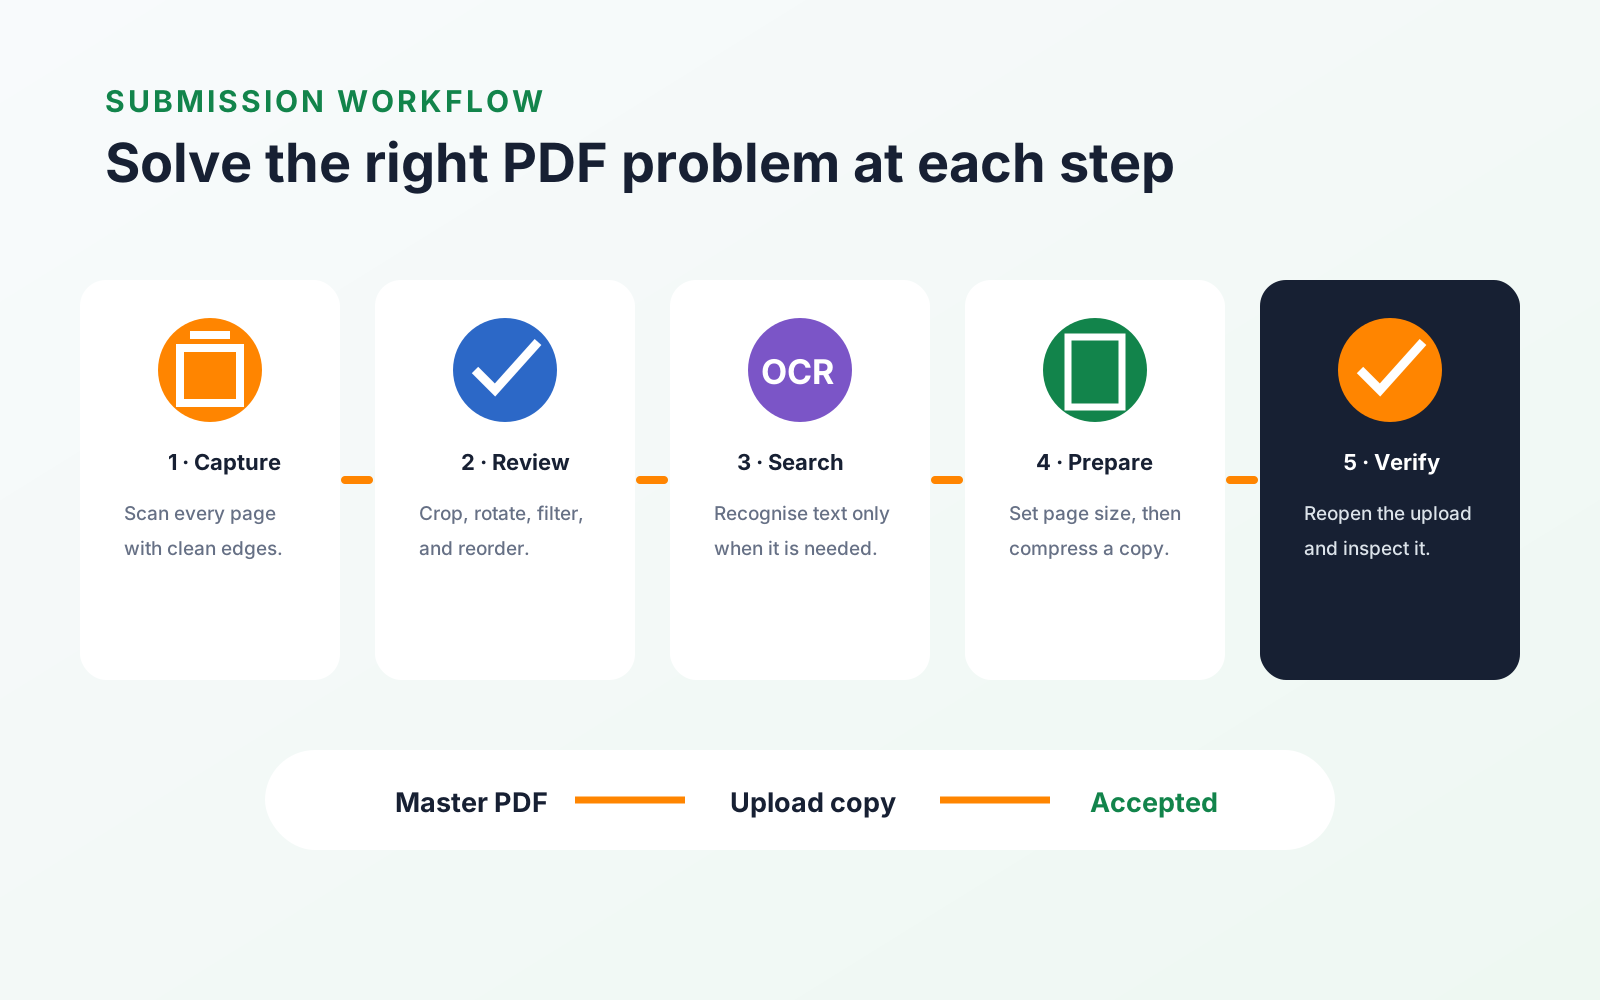
Back-to-school paperwork rarely arrives in one tidy format. A registration form may be on paper, a timetable may be an image, and a school portal may reject anything that is not a PDF below a particular file size. The useful checklist is therefore not simply “scan everything.” It is to capture each document clearly, give it the right page dimensions, make its text searchable when needed, and test the exact file you intend to submit.
PDF Max brings those steps together on Apple devices. Scan to PDF opens on every plan, on iPhone and iPad where the camera is; the resulting PDF can then be checked and prepared on iPhone, iPad, or Mac. On a Mac, Images to PDF covers the same ground from photos you have already taken. On Free and Pro either tool makes a document of up to two pages, and the searchable text layer is Premium; Premium removes both limits.
Start with the documents that are difficult to replace
Collect the files that would cause the most trouble if they went missing or were rejected close to a deadline:
- enrolment and course-registration forms;
- accommodation, move-in, and inspection paperwork;
- permission slips and activity forms;
- academic records and certificates;
- receipts, equipment records, and transport documents; and
- printed reading lists, handouts, and study notes.
Keep the original paper until the school has accepted the digital copy. A scan is convenient, but it should not become the only surviving version of a consequential document before you know that every page is readable.
Scan a clean multi-page PDF on iPhone or iPad
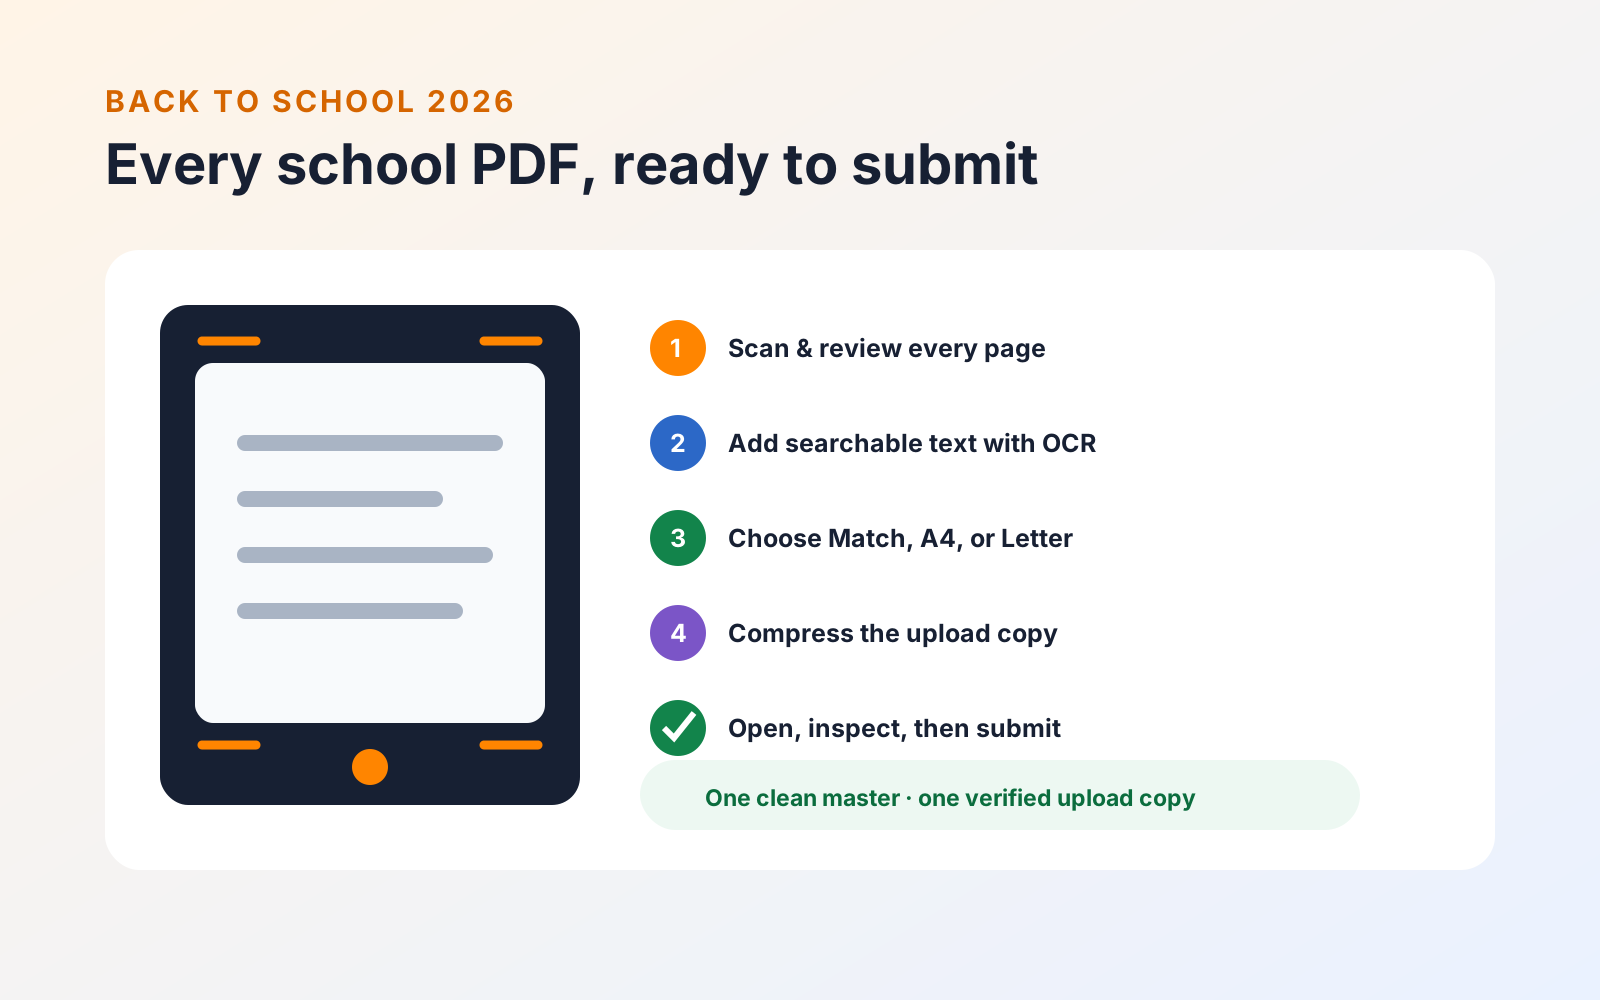
Open Scan to PDF, position the page on a flat, contrasting surface, and keep the camera parallel to the paper. Automatic capture waits for a stable document shape. You can also capture manually when a worksheet, book page, or unusual layout is not detected as a standard sheet.
After capture, use the review screen to:
- check and correct the detected corners;
- crop away the desk without cutting off stamps or handwriting;
- rotate pages into their proper reading direction;
- choose the most legible color, document, or black-and-white treatment;
- add any missing pages; and
- drag pages into the order expected by the recipient.
Do not judge a long scan only by its first page. Open a page from the middle and the final page, then zoom into small print, signatures, dates, and handwritten additions.
Choose page size and quality deliberately
At save time, Match Image keeps each page shaped like its capture. This is useful for mixed notes, receipts, and pages whose original size does not matter. Choose A4 or US Letter when a portal, printer, or school office expects a conventional sheet. PDF Max centers the captured page within the selected paper size rather than stretching it out of proportion.
Quality is a separate choice:
- High preserves the most image detail for fine print, diagrams, or archival copies.
- Balanced is a practical default for ordinary forms and class handouts.
- Smaller File reduces resolution and image quality when an upload limit matters more than tiny detail.
Use the smallest option only after checking that names, numbers, formulas, and signatures remain clear at normal reading zoom.
Decide whether the scan needs searchable text
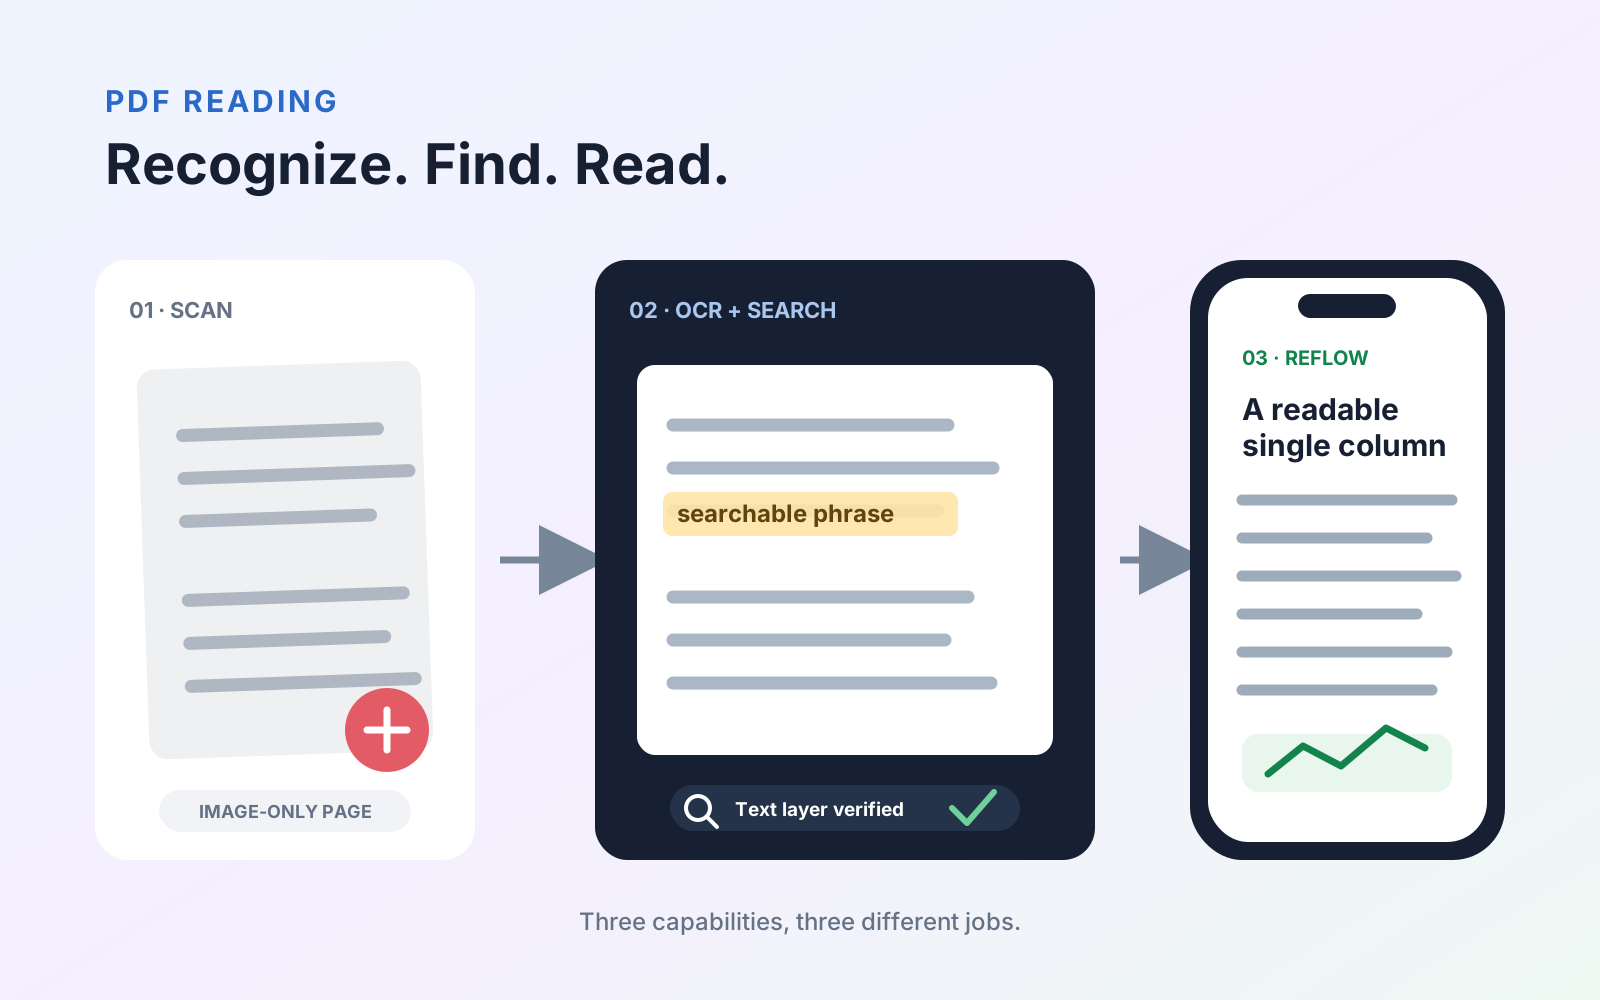
A page image may look perfect while containing no selectable words. Turn on Searchable PDF (OCR) when you want to find terms in scanned notes, copy a reference number, or search a long handout later. Recognition runs on the device and is a Premium capability.
OCR is not proofreading. Faint type, handwriting, equations, and unusual layouts can be misread. After saving, search for one distinctive word and copy a sentence into a plain-text note. Compare the result with the visible page. For a fuller testing method, follow the guide to making a scanned PDF searchable.
Know when to resize and when to compress
These tools solve different problems:
- Page Resize changes the physical page canvas—for example, converting mixed page shapes to a consistent paper size or orientation. It affects how pages fit on screen and paper.
- Compress PDF reduces storage and upload size by re-encoding images. Text and vector graphics are copied through, so selectable text remains selectable.
Page Resize and Compress PDF are Premium tools. Resizing a page does not guarantee a smaller file. Compressing a PDF does not make an A4 page become US Letter. If the submission rules specify both dimensions and megabytes, resize first, inspect the layout, then compress a copy and compare the result.
Run a final submission check
Before pressing Upload or Send:
- Open the saved file rather than relying on the editor preview.
- Confirm the filename contains the student, course, and document purpose without private data the recipient did not request.
- Count the pages and check their order and orientation.
- Zoom into names, dates, signatures, seals, and identification numbers.
- Search recognized text if OCR was required.
- Check the page size and file size against the stated limit.
- Upload the file, then use the portal's preview or download option to inspect what the school actually received.
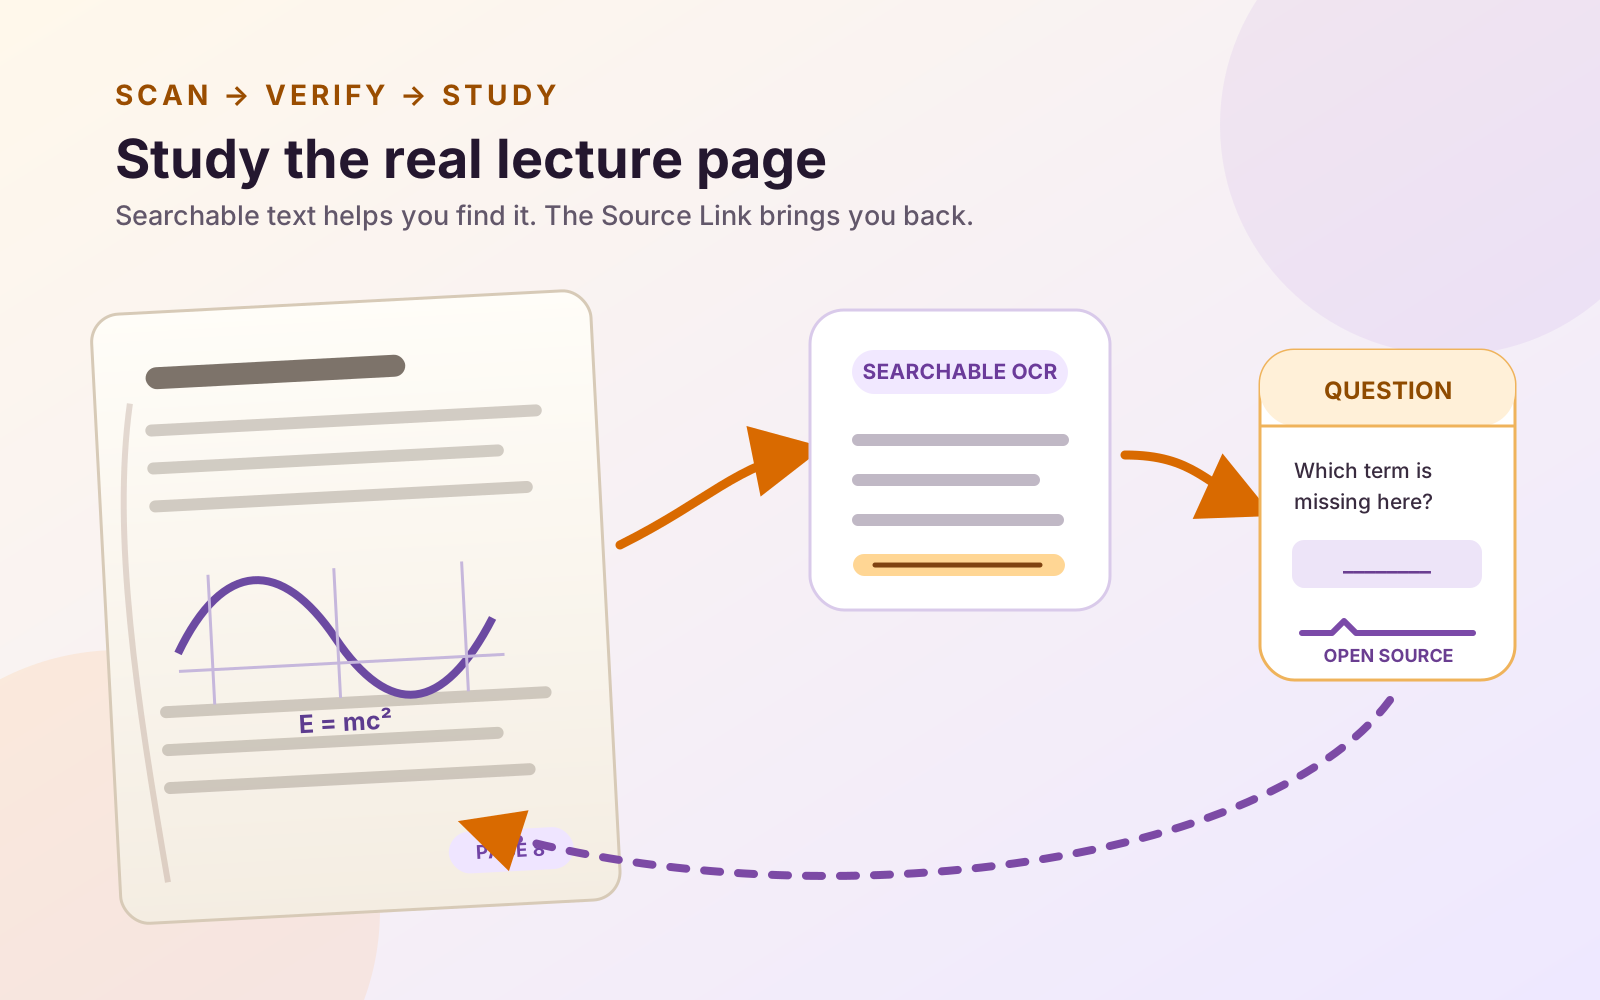
Once the administrative files are under control, the same PDF workflow can support the academic part of the term. Continue with equation-aware research reading, or turn important readings into a source-linked research Workspace.